Form component generation
Detailed schema overview
| Before generating a form component refer to the internationalization file. |
In the example, a brand-new application was generated using the command:
ng new app demo-schematics --no-standaloneA schematics will be generated using the following command:
ng generate [collection-name]:[schematics-name]For demonstration purposes, the Movement.ttl Aspect Model will be used. Below is a detailed representation of the command-line interface steps which generates a form component using the Movement.ttl Aspect Model file by running the command.
| Before running any schematics commands make sure you are in the Angular project folder where you want to generate the new component. |
Component generation is achieved by running either of the following commands:
ng generate @esmf/semantic-ui-schematics:formng g @esmf/semantic-ui-schematics:form| The Angular folder where the component generation takes place should contain another folder with the .ttl files. |
Load pre-existing configuration file
After going through the wizard at least once, a config file will be auto-generated. The first prompt allows you to load a config file or start from scratch by loading one or multiple Aspect Model files.

When you decide to create a new configuration file, you will be prompted to specify a name for your config file. This provided name will be integrated into the default naming structure for the config file.
The naming structure is <config-file-name>-wizard.config.json. Here, <config-file-name> is the name that you provide when prompted.
For example, if you enter myConfig when prompted for the config file name, your new config file will be named myConfig-wizard.config.json.

When you decide to load a pre-existing config file, the system will display the result as follows:

This will give access to the folder structure and by using a FUZZY search mechanism can provide the possibility to input the pre-existing config file. The config file will now be named based on your input <config-file-name>-wizard.config.json, and can be found in the root folder of the project.
Aspect Model selection
If no pre-existing config file is loaded, then there is an option to choose for one or multiple Aspect Model files from the folder structure, using the same FUZZY search mechanism.


Entity or specific aspect selection
An Aspect or an Entity must be chosen in order for the form to be created. This can be done in this step by choosing from a list.


Component path
Once all the prompts are answered, a form will be generated based on the selected options. The default path of the newly generated component is src/app/shared/components/<component-name>.
shared
└─── components
        └─── <component-name>
        │    └───<form-field>
        │   │   │   <form-field-component-name>-form.component.html
        │   │   │   <form-field-component-name>-form.component.scss
        │   │   │   <form-field-component-name>-form.component.ts
        │   │   <component-name>-form.component.ts
        │   │   <component-name>-form.module.ts
Multiple version support
An Aspect Model can have multiple versions. If this is the case, and you want to generate multiple components having different version, this can be done when this prompt question shows up:

The folder structure will then change accordingly.
shared
└───components
└─── <component-version-0>
│ └─── <component-name>
│ │ └───<form-field>
│ │ │ │ <form-field-component-name>-form.component.html
│ │ │ │ <form-field-component-name>-form.component.scss
│ │ │ │ <form-field-component-name>-form.component.ts
│ │ │ <component-name>-form.component.ts
│ │ │ <component-name>-form.module.ts
└─── <component-version-1>
│ └─── <component-name>
│ │ └───<form-field>
│ │ │ │ <form-field-component-name>-form.component.html
│ │ │ │ <form-field-component-name>-form.component.scss
│ │ │ │ <form-field-component-name>-form.component.ts
│ │ │ <component-name>-form.component.ts
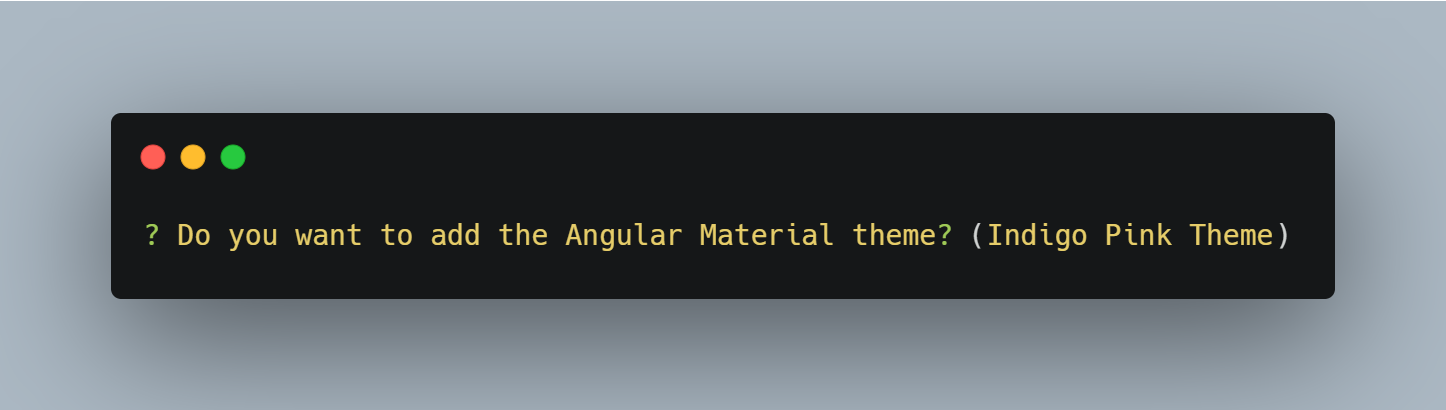
│ │ │ <component-name>-form.module.tsMaterial theme(Indigo pink)
User can add to angular.json Indigo pink material theme. These action will appear in the actions column of the form. In the following prompt you can choose to add the Indigo pink material theme.
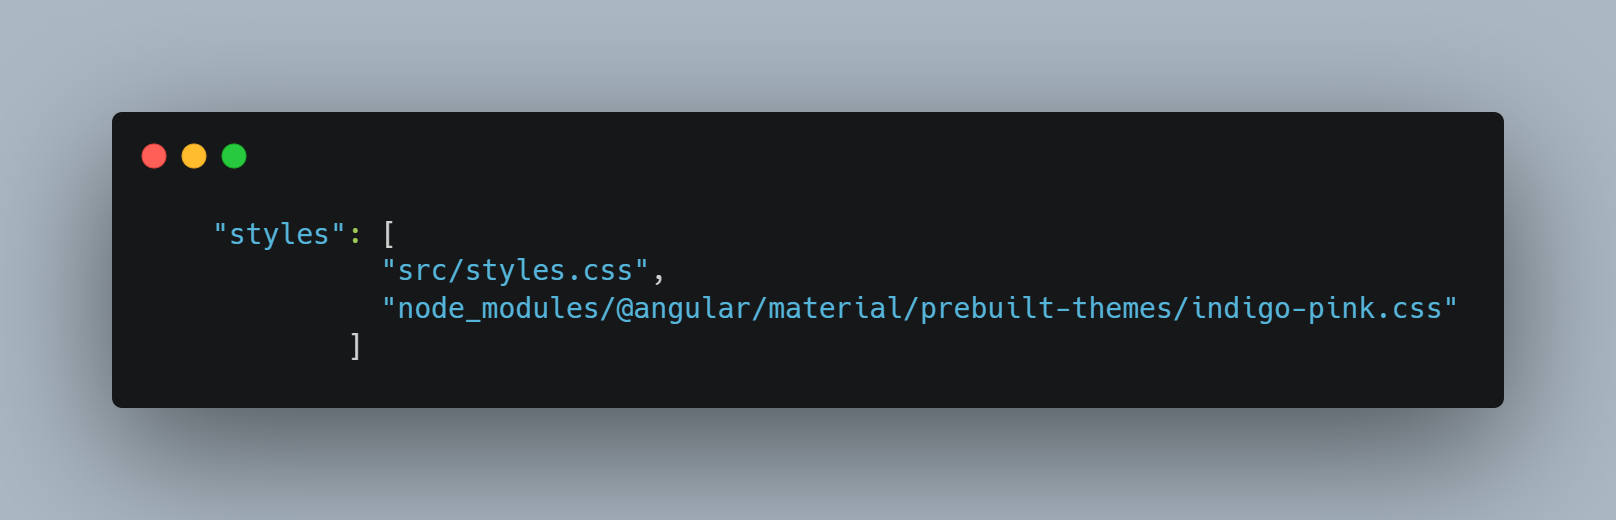
In the generated angular.json form if user selected yes we can observe the change in styles array.
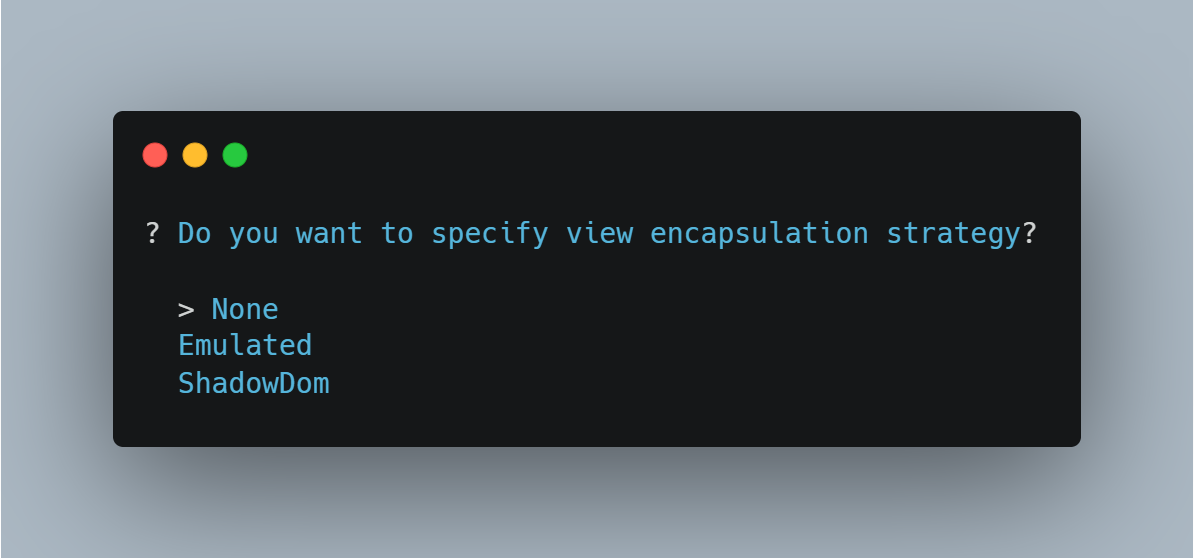
Set view encapsulation strategy for the generated form component
User can set the View Encapsulation strategy by default the ViewEncapsulation will be set to None on the generated form component. In the following prompt you can choose to add another View Encapsulation value.
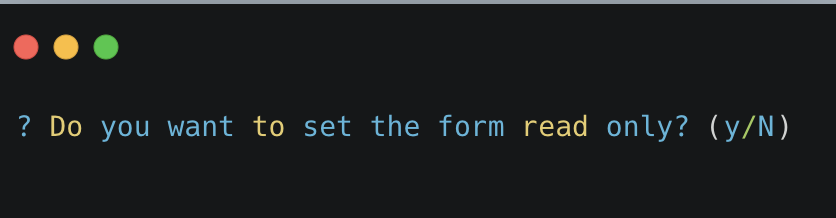
Generate read only form components
Our tool allows users to effortlessly generate read-only forms. This feature is particularly useful for creating display components where data modification is not required.
Flags for generating the form
By using
ng generate @esmf/semantic-ui-schematics:form --helpor
ng g @esmf/semantic-ui-schematics:form --helpyou can get access to all the options encapsulated in the schema.json file. Each field has a description for a better understanding of it and how to use it.
Flag |
Description |
Default |
Type |
--aspect-model-urn-to-load |
Specify the Aspect Model for form generation |
'' |
string |
--change-detection |
Change detection strategy for the generated angular component |
'default' |
enum |
--enable-version-support |
Multiple versions support for different version of an Aspect Model |
false |
boolean |
--read-only-form |
Generate read only form |
false |
boolean |
--json-access-path |
Enter the access path in the JSON payload e.g. position |
'' |
string |
--overwrite |
Overwrite existing files |
true |
boolean |
--selected-model-element-urn |
Choose a specific Entity or Aspect to show as form |
'' |
string |
--ttl |
Path for the Aspect Model files |
[] |
string[] |